For my blocks this month, I’m basing the pattern off the Nigella quilt by Amy Butler. Basically, I’m having you make a string block on a muslin foundation (times 4), and then centering a fussy cut piece on the string background.
I will have your fabrics in the mail this week, but wanted to write up the directions so that you have them available. You can click each picture to make it bigger.
The fabrics I’m sending out are from Tula Pink’s Parisville line. I’m a big Tula fan – her Flutterby line was the first “designer” fabric I ever purchased, and I’ve been smitten with her bold use of color and her innovative (and sometimes hidden) patterns in her fabrics ever since! For this block, I’m using the Cameo print as my focus/center fabric.

Anywho, I’m including four 9.5” squares of muslin and a bunch of pieces of various widths – please feel free to cut each string to an unfinished size of 3/4” or wider. Most of my strings in the sample above where around the 2” mark. For the steps below, I recommend chain piecing the 4 blocks to make things go a bit faster.
On each muslin piece, I’ve drawn a line 2.5” from the center. This is where you place your first “string” right side up, which should be at least 2” wide.

Place a 2nd strip right side down on the 1st strip, lining up the edge. Make sure the string is long enough to cover the entire muslin piece when it gets ironed open.
 Continue until the entire muslin piece is covered. Try to get a variety of prints and colors on each block.

Trim the blocks up using the muslin as your guide.
Sew the four blocks together with the plain muslin part toward the middle (of course, yours won’t look so symmetrical with the color placement – please mix it up a bit!):

Fold your focus/centerpiece fabric evenly in both directions to determine the center point (feel free to iron in a crease if that helps you get it lined up.
Center the fold lines on the seam lines of the four block pieces and pin in place. Using a coordinating thread (I used a hot pink on mine that matched the color in the print perfectly, so feel free to use color if you have it), sew a 1/8” raw edge around the edge of the centerpiece. If your machine has any fun stitches, please feel free to jazz up the edge stitching!
If you have any questions or concerns, just shoot me an email!

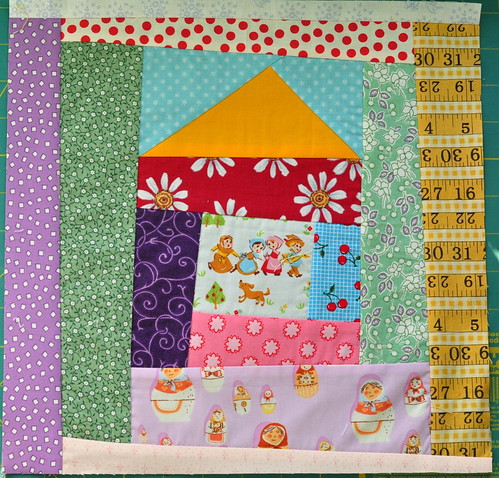
 I did have this fabric in my stash. Even made a store sample quilt from it, but not all of these colorways. I LOVE the strawberries...
 One thing I always do with block exchange or Bee blocks, is sign them, on the back, on a seam allowance. It's a good way for the recipient to keep track of who made which block as they come back in the mail (and who knows, maybe someday, after I'm long gone, someone will come across this and wonder about the life of a quilter from Iowa who made that block in 2011)...
 Hey, it could happen.