Friday, December 31, 2010
Popping In To Say Hello!
I blog over at ~Michelle's Musings~ so you can spy on my happenings over there. For a quick intro, I'm nearly 29 and live with my hubs & 2 fur children in sunny Los Angeles. But lest you think I'm a city girl, I was born & raised in rural Nebraska, and spent my college years as a Cyclone (which I think Doris & Linda may appreciate). My hubs works in aerospace, which is how we wound up in LA. I'm a CPA, but that doesn't mean I do taxes... I was a (financial statement) auditor, and now I'm an accounting manager for a small furniture distributor. I really started quilting in mid-2008, so I think I'm past the honeymoon phase and this little hobby of mine is going to stick. I'm a great project starter and a poor finisher, which I why I like these bees - a block a month is perfect for my attention span and limited time!
I'm looking forward to working with y'all! :)
Wednesday, December 22, 2010
A Fairy Tale For Nettie
And this little mouse is lurking around outside the door, probably interested in those half-eaten apples discarded on the floor:
And the wise old owl is watching the scene from his perch up high. (See the Moon fabric? Isn't that awesome?) Nettie has fabulous scraps!
Enjoy, Nettie...can't wait to see what you make with all these blocks...
Merry Christmas all,
Doris
Wednesday, December 1, 2010
Nettie and Liz

Monday, November 29, 2010
fun house

Tuesday, November 23, 2010
december is my month!
i have been a fan of krommama's for a long time, and she is the "house expert". I fell in love with this quilt and it is my inspiration! I am asking for log cabin type houses, tutorial here. I am a fan of SUBTLE wonky (how's that for subtle), less is more. Feel free to follow the tutorial or do something else you like.
You are welcome to add any fabric, but I'd like to stay away from brown and grey (black is fine). I want it to be COLORFUL I am sending a 3 inch-ish square of fairy tale fabric that I would like you to use as the center. You don't have to keep the 3 inch shape perfectly.
I would like the block you send me to be 12.5 inches.
Thanks ladies, I can't wait to see what you come up with. If you have questions, let me know.
Sunday, November 14, 2010
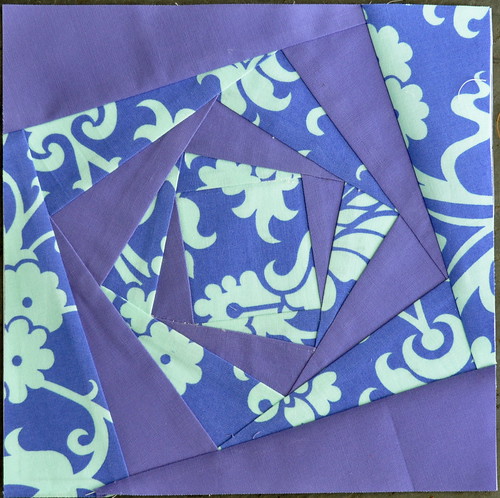
Cyclone Block for Doris
.
The Fall Cyclone block for Doris. This was a really great challenge for me. I don't think I totally understood what I was doing for most of the 3 hours I spent on the block. Every time I pieced the next section, I just hoped really hard I had the fabric going in the correct direction. It took three or four attempts to get sections 1 and 2 put together properly! Stripping, Thangling, and Squaring Modern fabrics next ... -- michele
Squares in a Square
Wednesday, November 10, 2010
Playing catch-up...
 2 Thangles Shoo-Fly blocks for Angela
 A Joel Dewberry Modern Meadow block for Liz
Now, for our followers out there, might you be interested in joining us n 2011? We are going to have 3-5 openings in this Bee starting in January 2011. If you want to be a part of One Block Over 2011, email me at schmitz(dot)doris(at)yahoo(dot)com.
Saturday, October 23, 2010
Tuesday, October 19, 2010
1 1/2 blocks
Bee - hind!
Monday, October 18, 2010
October, received
Thank you to
VICTORIA (love my little "surprise" block!)
NETTIE
ANGELA
JACQUIE
HEATHER
AMY
TERRI
DORIS
They're beautiful!
Wednesday, October 13, 2010
Liz's Blocks
Thursday, October 7, 2010
Mis-matched blocks for Angela
Tuesday, October 5, 2010
September blocks for Angela
Wednesday, September 22, 2010
Peace and Comfort...Finished

My Peace and Comfort quilt is finally finished. I wanted to thank you all for making crosses for me. It turned out better than I could have imagined! You can see all the pics here.
I've finished another top with more crosses. When I get a picture taken I'll post that too. Thanks again for helping me make this quilt!
duh!
Wednesday, September 15, 2010
September Shoo Fly blocks

Nothing too creative, but I thought it would be fun for you to try something that may be new to you - Thangles.

Thank you so much :)
Sunday, September 12, 2010
September troubles
I finally got a chance to pack up envelopes for everybody. I even made a set of blocks myself with lots of pictures for a tutorial.
My computer has been taken over by horrible malware this weekend - so no way to upload my pictures.
I'm sending your envelopes tomorrow. Don't rush...I'm late you can be totally late getting them back to me.
Wait for my tutorial - hopefully this week - so you'll know what to do with the two strips I've sent you.
Thank you for not tossing me out :)
Wednesday, September 1, 2010
Sunday, August 29, 2010
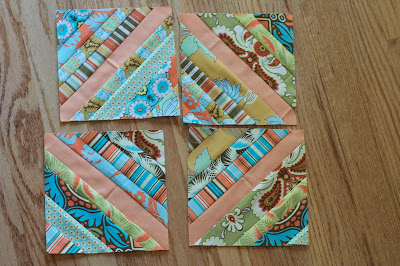
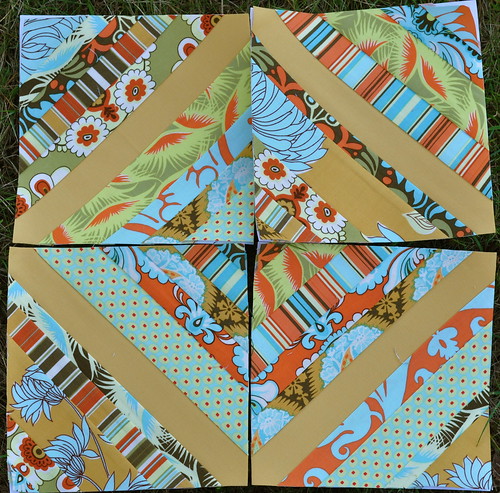
String Blocks for Terri
Friday, August 27, 2010
Cyclone block, belated
Terri's String Blocks
Thursday, August 19, 2010
Red Cross Quilt
I started with this little bit of embroidery and this teeny tiny cross and made a focal point for this side.
 The quilt went a different direction than I imagined, but I do like how it came together.
 So many of the crosses were so interesting. Thanks for adding to this quilt.
 It's not done, but at least I'm making progress. On to side two!
Tuesday, August 10, 2010
June? July? August?
.
Does anyone really know what time it is, or what month for that matter? The days slip by, and I lie in bed at night trying to remember what items were crossed off my list in the previous 18 hours.
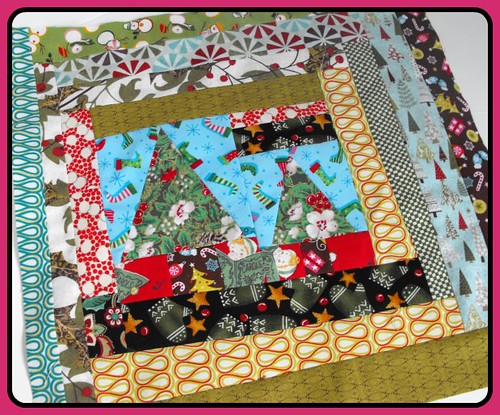
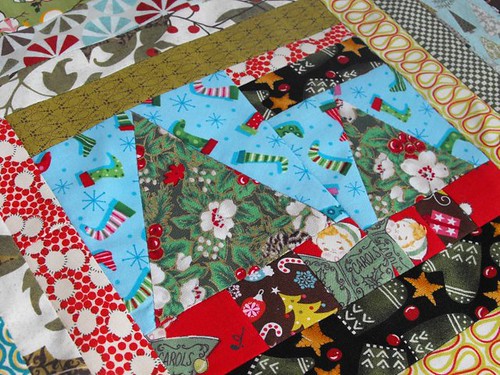
Autumn's wonky block is finished and ready to join its companions. Can you see the trees in there, Autumn? I was too afraid to embellish and ruin, however, you might consider running some ric-rac or a buttonhole stitch around the trees to make them stand out. You could even add a button star at the top. Right! I have so many ideas now that I'm finished with the block and am ready to post.
.
.
I still have some cherished Figgy Pudding from last year which I thought melded with your fabrics. I really love your spotted red fabric best though. Can't wait to see the finished quilt!
Doris, I broke out the paper piecing last night after packaging Autumn's block. We'll see how far I get before I lie back down in the bed tonight!
Saturday, August 7, 2010
Thursday, August 5, 2010
cyclone!
Tuesday, August 3, 2010
Strings for Terri
Terri, made these four for you last night and posted them today....I am coveting this quilt already!
Monday, August 2, 2010
Stringing Along!
Monday, July 26, 2010
Wednesday, July 21, 2010
Sewing Again!
I started sewing again!
It's been over two weeks since I've had the time or motivation to sew. I know. It's a terrible feeling.
My apologies to my quilting bee partners for being late with the June and July blocks. I finished the wonky log cabin for Autumn's June kit.
 I have to confess, I'm not a big fan of making wonky log cabin blocks. I always afraid I'm going to turn the block the wrong direction and sew the next log onto the wrong side. But this one was fun. Maybe because it was Holiday fabrics. Maybe because I pretended I didn't have anything else going on so I was able to focus and let loose. I am happy with how this one turned out, so I hope Autumn likes it too.
Next, I am gearing up to make Doris' cyclone block for July.
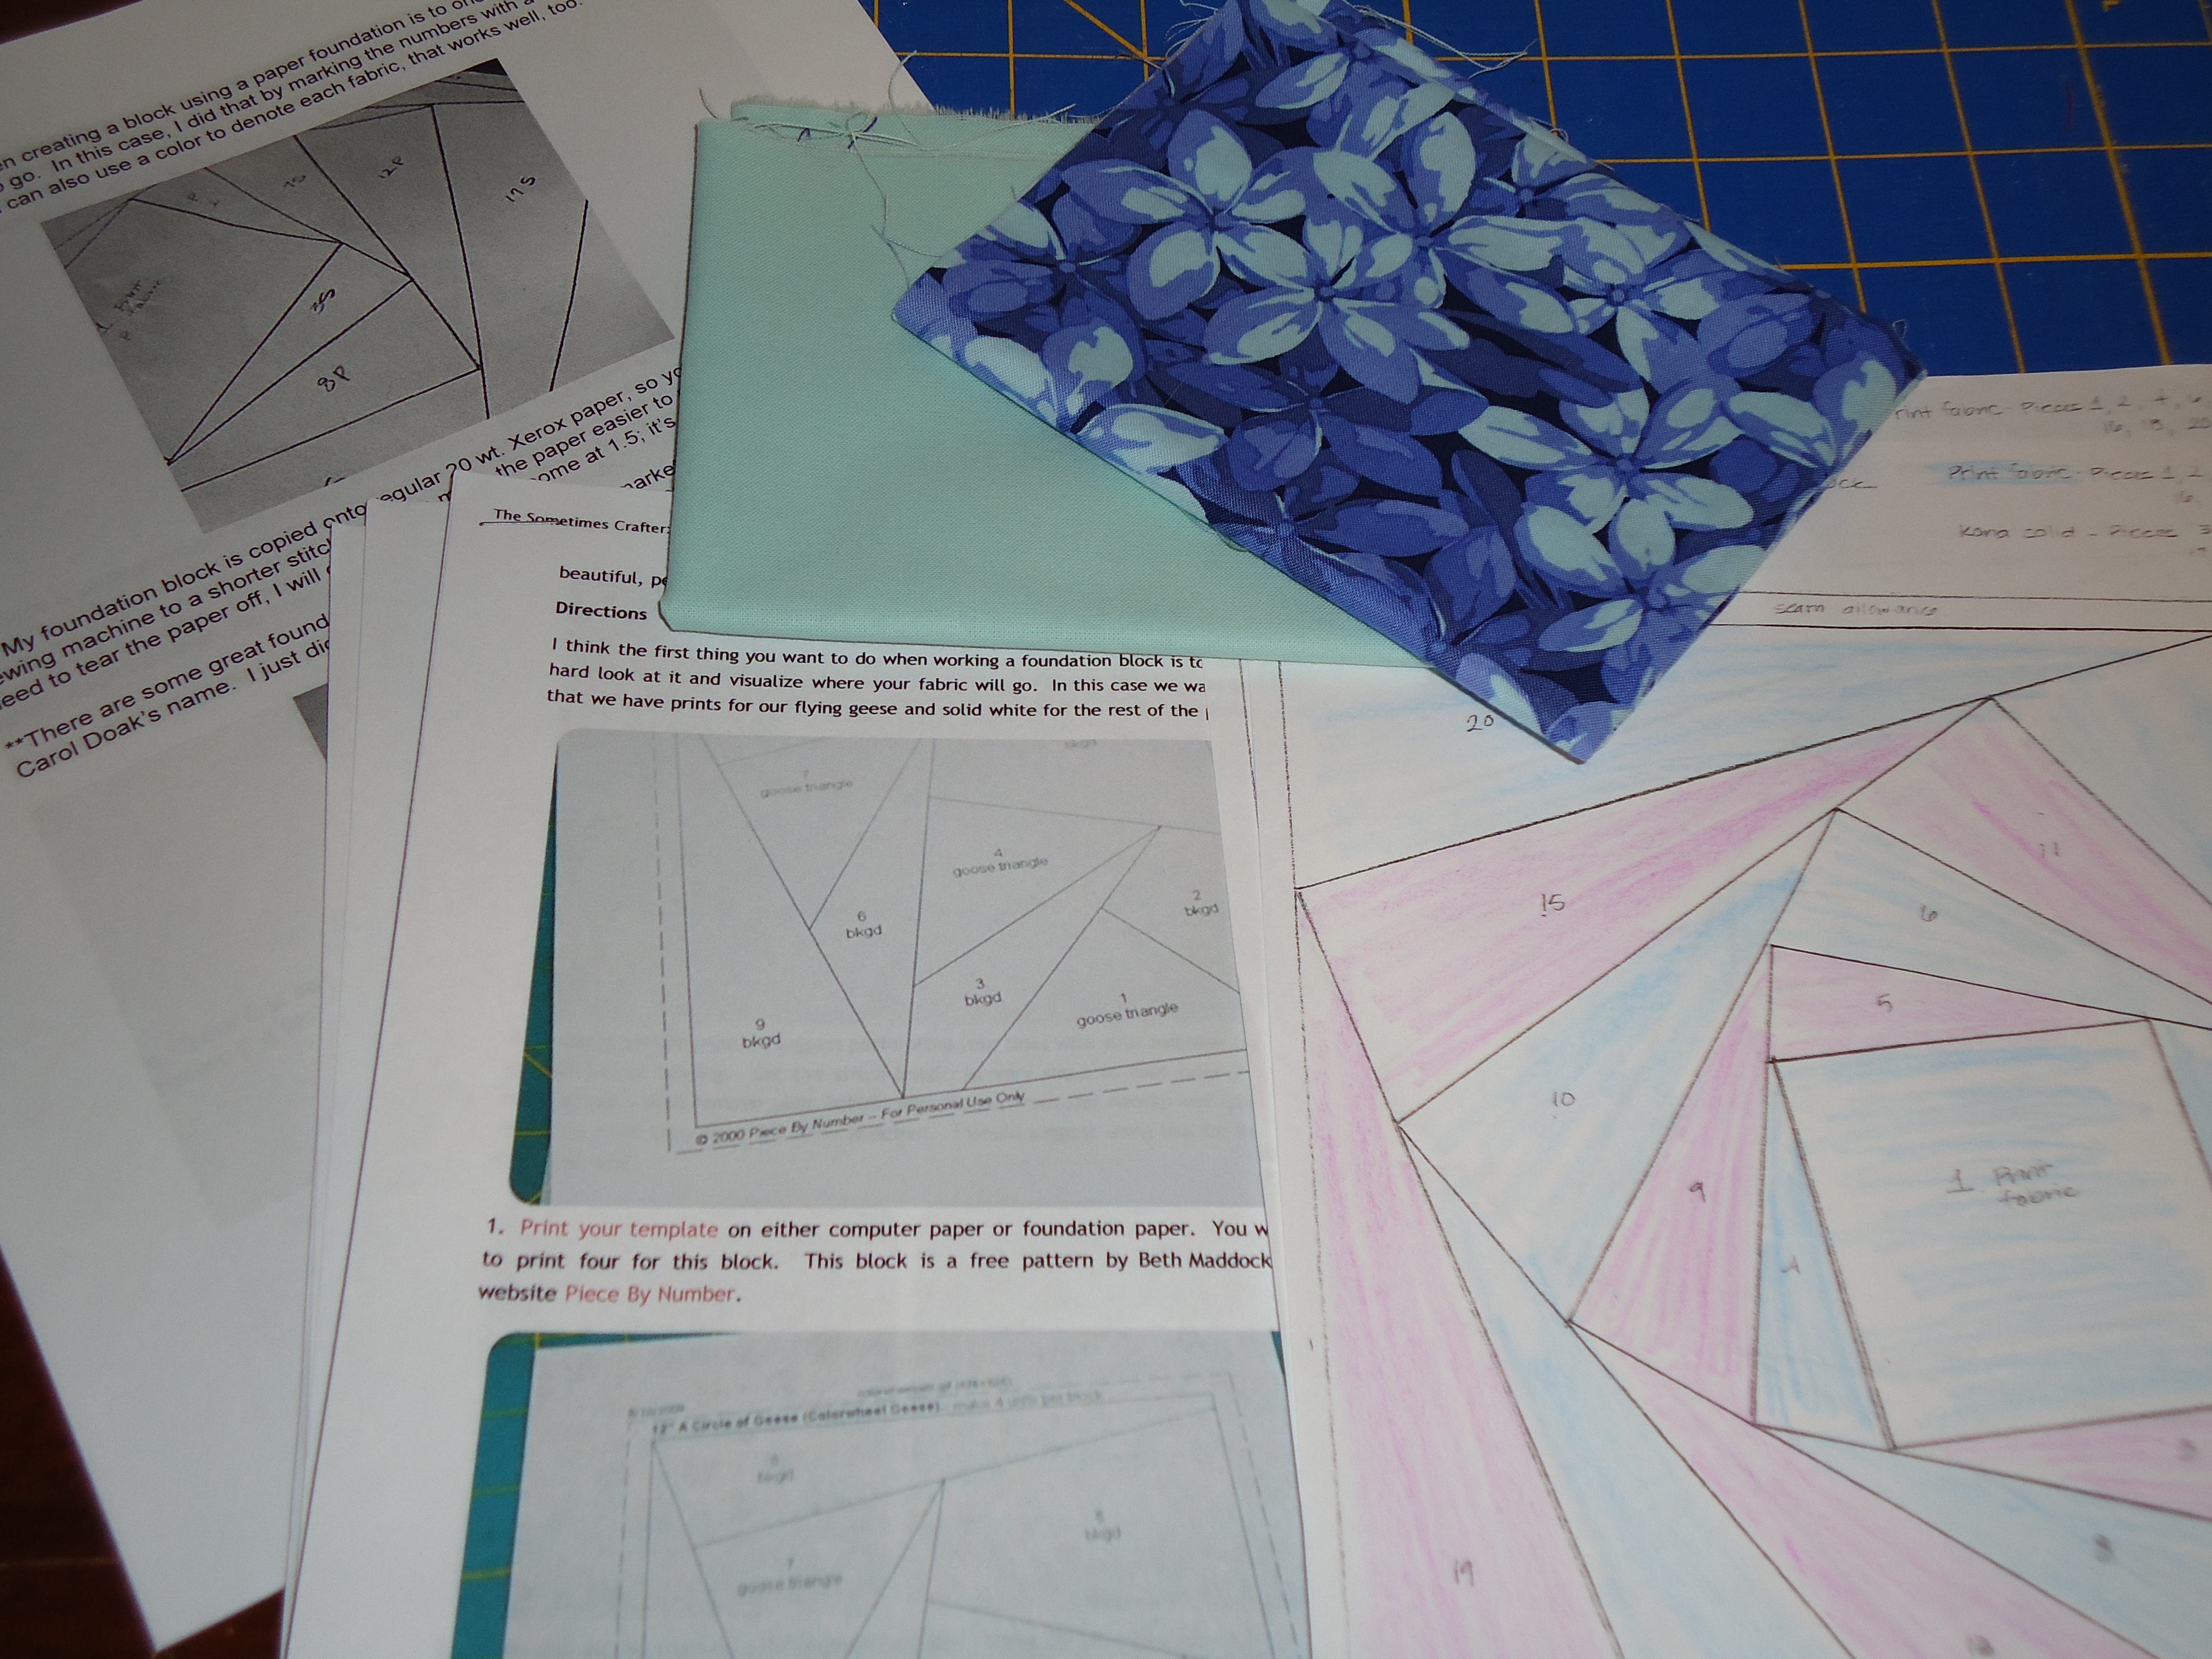 I've never tried paper piecing before, so I am going to use the tutorial Doris provided and this tutorial for reference.
Once I'm caught up on everyone else's bee blocks, I am planning to get my fabrics ready to mail for my August kit. I'm going to request string blocks for a fall quilt, using these fabrics.
Sure feels good to be in the sewing seat again!
Tuesday, July 20, 2010
Tutorial: Paper Pieced Cyclone Block
Here is the promised tutorial, specific to this block. If you have never paper pieced before, it takes a bit before the "a-ha!" moment comes, because you might feel like you are working backwards or upside-down... you'll see what I mean. The only way to get it is to try it. There are some other great tutorials out there on paper piecing in general, including a good one that Terri pointed out at The Sometimes Crafter.
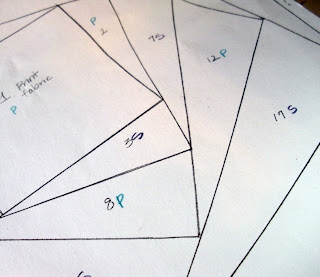
This is my foundation pattern:
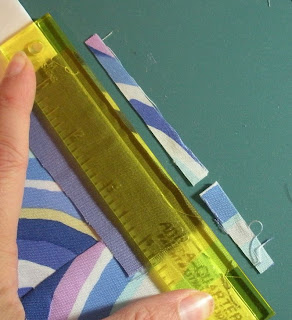
You don’t need any special equipment for paper-piecing, but I do use one nifty tool to trim my seam allowances, the Add-A-Quarter ruler by CM Designs:
The first thing I do when creating a block using a paper foundation is to orient myself with where each fabric is going to go. In this case, I did that by marking the numbers with a "P" for print or an "S" for solid. You can also use a color to denote each fabric, that works well, too.
3. Place a print rectangle big enough to cover space #2, face down on top of the center square, piece “1”. Hold your paper up to the light, or use a light box, to make sure your fabrics will cover space 1 & 2 while allowing some extra for a seam allowance. Note that #2 fabric is in place of where it will be when you sew the seam, just like it is when you piece normally, not in the place where it will be when you press it open to reveal it's right side.
** I recommend pinning in place, at least the first time around
4. Your first seam will be stitched ON THE LINE between space 1 and space 2. Stitch from just before the first intersection on the line (start of the line), to just beyond the end of that line.
5. Turn you block over face down, and fold the paper back along your seam line. Using a ruler or your Add-A-Quarter ruler, trim to your seam allowance. It is not necessary that it be precisely 1/4", close is good enough.
6. Turn paper over and press seam open.
7. To find your stitch line (necessary since we are using Xerox paper and not transluscent foundation paper), fold the paper and fabric along the seam line between the pieces you have just attached and piece #3. Crease with your fingernail or a stiletto. It will show your seam mark like this:
You can also use a seam roller/presser to reinforce your seam mark.
8. Now lay your next piece of fabric (a solid) right side down, overlapping the crease mark by roughly ¼” to leave a seam allowance. Carefully flip your foundation and fabric over, stitch on seam line for piece #3.
9. Repeat step 5 to trim your excess fabric to the proper seam allowance.
10. Repeat the same process for attaching fabric 4, 5, 6 and so on.
A Few Notes:
**I stop and press every seam open (without steam) to avoid getting “ripples” or "puckers" as I add pieces to my block.
**Sometimes, I will trim a piece before I sew it down. I use the same method of folding back and finger pressing and then cut a roughly 1/4” seam line.
**Remember you are always going to stitch exactly ON your line:
**Your stitch line only needs to extend slightly beyond the ends of the drawn or printed line:
When you get to the edge pieces, stitch through the seam allowance, just past the edge of your paper foundation:


